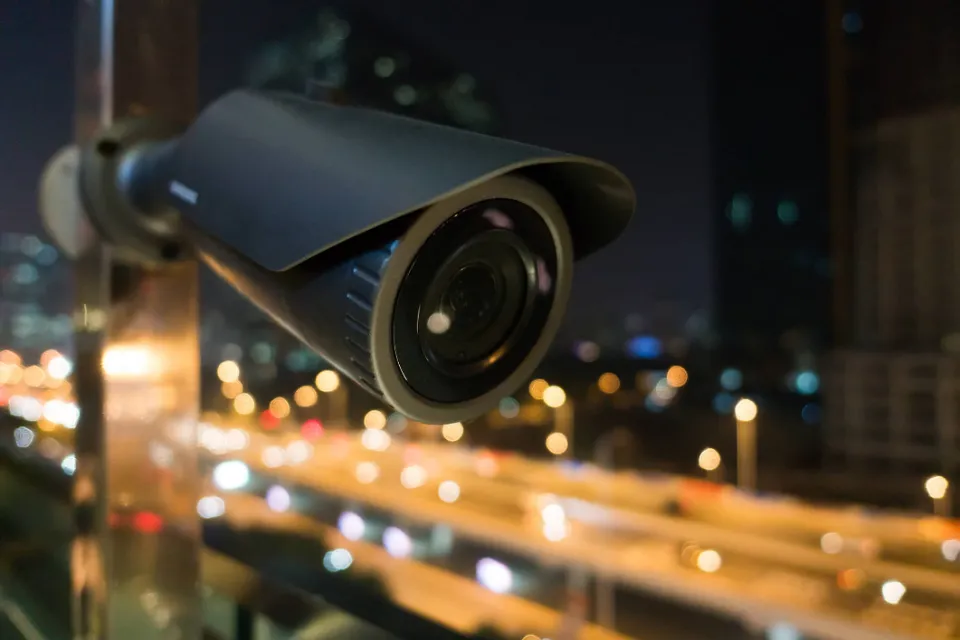
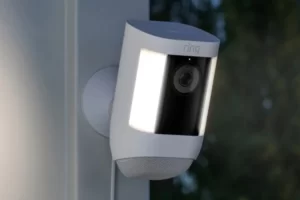
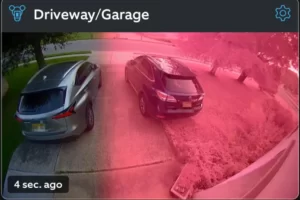
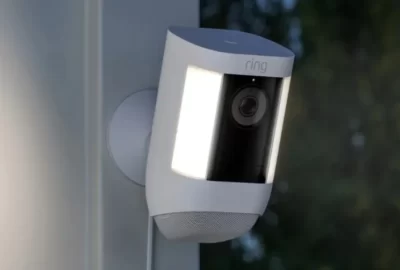
Make sure there are no issues with night vision before purchasing a security camera. Here is a complete guide on how to improve security camera night vision.
If you don’t know what to look out for, it’s simple to make mistakes that can significantly reduce your camera’s ability to capture a useful image in low light.
To learn how to get the best image possible from your cameras, keep reading to learn what to do and what to avoid.
How Does Night Vision Work on a Security Camera?
Security cameras have infrared bulbs around the lens that shine light in the camera’s field of view. Infrared light is invisible to the human eye, but the camera’s lens can detect it.
A camera’s night vision range is determined by how far infrared light can enter the field of view.
A typical security camera has a night vision distance of about 50-65 feet, while other cameras can view up to 300 feet at night.
Important information: Just because a camera’s night vision is rated for 50–65 feet doesn’t mean you can see an object there clearly.

Example: When viewing a very dark area, you’ll notice that the infrared lights of the cameras will illuminate the first 20 to 30 feet in front of the camera, but that the image will grow darker as you move away from the camera.
The majority of security cameras do not function well at night. Almost all cameras need additional lighting to provide a clear image in the dark.
Related Post: How to Power Outdoor Security Camera?
How to Improve Security Camera Night Vision? 8 Ways
Here are eight easy ways to help you improve security camera night vision.
1. Add More Light
This seems obvious but it’s worth mentioning, adding more light to your area can drastically improve the nighttime quality of your security camera system
. In fact, the camera can record in color mode and won’t activate the built-in infrared LED lights if the area being monitored is well lit.
If it’s possible to add more light, then you should do it. Let’s say there’s a driveway or the parking area where you leave your car, you can install a small porch light on the side of the building, or you can exchange your current light bulb with a brighter one.
Around your driveway, you can also install path lights and floodlights, and you can even use poles to mount the light higher up.
Basically, any additional light sources will aid the security camera in producing a clear and sharp nighttime image. If there is sufficient illumination, you may even obtain colored nighttime images that offer greater clarity and detail.
2. Install External Infrared LED Lights

As you may already be aware, the majority of security cameras have built-in infrared LEDs that illuminate automatically as night falls and enable the camera to see its surroundings. Only the camera can see this light, which is invisible to the unaided eye. The final image displayed on your monitor, whether it is live or recorded, is always in black and white.
Unfortunately, these infrared blocks around the camera’s eye are frequently insufficiently strong or even subpar, making it impossible for the camera to capture quality nighttime images. Even the distance that the camera can see is occasionally close.
More external infrared light can be added if you feel that the infrared light from your camera is insufficient. Illuminators are the perfect way to make the area brighter and improve the clarity of the image your camera captures.
Only the camera will be able to see the lights coming from the illuminator, so you won’t be contaminating your area with extra visible lights. Remember to install the illuminator at least as far away from the camera as possible; otherwise, the light may be reflected off of the camera.
The cost of the illuminators (as seen in the picture) can vary depending on the models you choose. Our research shows that even a low-cost illuminator block will be effective in enhancing the camera’s night vision.
The most expensive ones frequently have more IR LED lights on the panel and are larger in size. They are advised for large spaces like parking lots, warehouses, or substantial commercial buildings because they can illuminate a larger area. Here are a few CCTV illumination options.
3. Avoid Light Sources Hitting the Camera Directly
Consider the lighting sources or fixtures around the security camera when installing one. A camera shouldn’t be installed close to a strong light source, and the light fixture’s rays should never directly hit the camera’s eye.
There’s a reason for that, a strong light source close to the camera may blind the sensor which will make the picture white-washed or simply too bright.
The outcome is the same whether the light is coming straight from a lightbulb or after reflecting off a hard surface. Consider a situation where there is a solid wall. The light from the bulb may strike the wall and reflect back, blinding the camera.
If you are unable to change the light’s direction, try to keep it behind or to the side of the camera. In comparison to the camera itself, the light bulb should therefore be farther back.
4. Reduce IR Reflection
If unneeded and unwanted IR light hits the front, your camera might have trouble seeing in dim lighting. Nighttime video captured by your camera may not even reveal the problem’s root.
It’s also possible that a nearby wall or other surface is reflecting the internal IR of the camera. Furthermore, the surface reflecting IR may not even be within the lens’s or image sensor’s field of view.
Furthermore, it is worse if the reflected infrared light enters your camera’s frame, or if it is visible to the image sensor or lens. This is because the reflected IR light can cause the camera to become blind.
5. Ensure That Your Camera is Switching to Night Mode

Each camera has a so-called “IR cut filter” which filters the infrared light during the daytime. This filter is required for the camera to produce realistic color images, but it must be taken off at night for the camera to see its own infrared LED lights.
The IR cut filter is automatically removed from the lens when the camera is in night mode (by an internal mechanism), and the image changes from color to black and white. You ought to be able to hear a brief click sound when this occurs.
The camera must sometimes use ambient light in order to see in the dark because it sometimes fails to auto-switch. That will prevent it from seeing anything if that is sufficient. It will seem completely dark, or it might see something but be too dark to make it out.
Verify that your camera enters night mode by testing it. If it’s working, the IR lights will glow reddish and the clicking sound will be audible when your palm is over the camera (or just the light sensor).
Try again after rebooting the camera and checking the power source if it still doesn’t work. Replace the camera if it’s a bad one.
6. Get a Superior Low-light Camera
Let’s face it, a low-cost CCTV camera will only produce a basic night vision image that is blurry, dark, and cluttered with artifacts. As the saying goes, you get what you pay for. If you cut corners, don’t count on having a solid nighttime image.
Go for a better camera if you plan to use a security camera in a dark, dimly lit area or in the woods. There are times when using external illuminators is unnecessary because a better camera performs better in low light.
Choose a camera that is built to function in low light after doing some market research. The better the image, the higher the resolution and the more built-in IR lights. Spend a little more money on a good camera if you consider that location to be important.
7. Clean the Cameras
The illuminators and cameras must be kept clean. The IR light may reflect back to the camera’s sensor as a result of any dirt, dust, scratches, or general pollution.
Moreover, for some reason, spiders and insects swarm to the camera when it has IR lights on. It is advised to wipe the camera’s glass once every two to three months, or at the conclusion of each season.
Get rid of any spider webs that may have accumulated around the camera because the IR light from the camera hits the web and bounces back, blinding the sensor and lowering the image quality.
8. Don’t Install the Security Camera Too Close to Tall Shrubs.
Installing the camera too close to tall shrubs and bushes will create a bright spot in the foreground.
The infrared light from the camera is shining on the bush in front of it in the image above, causing the camera to focus on the brightest area of the image and producing a very dark background.
Wide dynamic range (WDR) settings are available on some cameras, but they don’t always work when the subject is too close.
Despite using this camera’s wide dynamic range setting, there was little improvement. To allow the camera to see the entire front yard, this bush needs to be cut down a few feet.
Final Thoughts: How to Improve Security Camera Night Vision
You might have noticed that there are only a couple of basic principles behind all ten of these tips to help you get the most out of your security cameras night vision at night.
The area you want to see at night needs to have visible or infrared light added. If the area that the camera is viewing is properly lit, even cheap cameras that don’t typically perform well in low light conditions can be made to perform admirably.
keeping these tips in mind when installing and troubleshooting your surveillance system.
Read More:
- How to Spot a Fake Security Camera?
- How to Blind a Security Camera?
- How to Hide Security Camera Wires Outside?
- How to Tell If a Security Camera is Recording?
FAQs
What Makes a Good Night Vision Camera?
I always recommend IP cameras with built-in IR (Infrared) LEDs for the highest quality nighttime video surveillance footage.
Why is My CCTV Camera Very Dark at Night?
Clean the lens of your camera. Dust and smudges can make your video look too dark.
Why is My CCTV Night Vision Not Clear?
No image or video is one of the most frequent CCTV night vision issues. To solve this issue, you must check whether the camera has power and all the connections and wires are fully secure. Ensure that the infrared light is on and bright.

