Duplicate pictures can cause a huge headache, especially if you’re trying to keep your photo library organized. This guide will introduce how to save images on a Mac.
How straightforward and user-friendly everything is on macOS is what it’s praised for the most. There are numerous ways to complete the same task, such as saving a picture, as part of that ease-of-use, though. This implies that there is no incorrect approach.
So let’s get to know the most functional ways of how to save images on Mac and upgrade your photo library.
How to Save Images on a Mac?
You’re likely to find images you want to keep for yourself among the 3 billion or so that are uploaded to the internet every day. Apple’s software is renowned for being incredibly user-friendly and intuitive, always giving users multiple options for how to complete any task.
So, if you’re looking for ways to save a picture on a Mac, there are many options available.
The simplest and frequently most efficient way to download photos from Facebook or save images from the web to a Mac is to use the right-click shortcut on your computer.
Here’s a universal way of how to copy and paste a picture on a Mac from the internet:
- Right-click or hold down Control and click on the picture you’d like to save
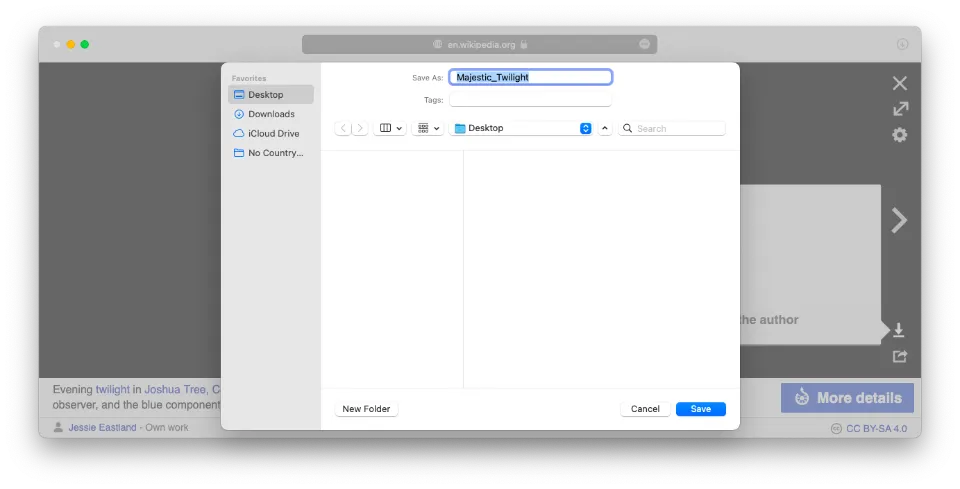
- Select “Save Image As…”
- Name the picture and choose where you’d like to save it
- Click Save
On a MacBook, you can also download an image by dragging and dropping the file to the desired location. As you can’t rename the file, this method, however, gives you less control than right-clicking.
For more Mac operation tips and tricks, keep reading:
- How to Make Mac Dark Mode?
- How to Left Click on Mac?
- How to Drag and Drop on Mac?
- How to Delete Bookmarks from Mac?
- How to Remove Ample App from Mac?
- How to Fix Roblox Not Updating on Mac?
- How to Connect Bose Headphones to Mac?
- What is Mission Control on a Mac?
How to Save a Picture by Taking a Screenshot on Mac?
Occasionally, you won’t have the option to select Save Image As. You will then need to use a workaround, such as taking a screenshot. The image won’t necessarily be saved in its original quality, but it will still appear just as good as it does on your computer screen.
In fact, there are two ways to take a screenshot in macOS. These are the steps to capture the entire screen:
- Tap Command+Shift+3.
- A thumbnail will appear in the bottom right corner; click on it.
- Edit or adjust as necessary.
- Then, click Done.
If you just want to save a selection, follow these instructions:
- Tap Command+Shift+4 to start.
- To take a screenshot of an area, click and drag your mouse over it.
Note: If you just want to capture an entire app window, you can press the spacebar and then click on the window.
- Select the thumbnail that appears in the bottom right.
- Make any adjustments.
- Click Done.
How to Manage Your Files Easily?
Productivity is key in the world today and if you’re looking to increase workflow efficiency on your Mac by organizing countless files, you won’t find a better solution than a good file manager.
FilePane enables you to run many file manipulations from a single window simultaneously analyzing your items, and offering corresponding quick actions like image editing, sharing, converting to other formats, and more.
Any file on your Mac can be selected and moved, and a Drop Here button will appear nearby on the screen. You will see a command box with various action icons after dropping the chosen file or item over. Here’s what you can do with FilePane:
- Crop, rotate, resize, convert and compress images
- Draw on top of images or screenshots
- Share content through email, Twitter, Facebook, or Airdrop
- Set and store desktop pictures
- Copy and move files to custom destinations
- Copy file size or path to clipboard
- Convert text documents to PDF
- Create new folders and files, and start editing in just two clicks
FilePane will be a true timesaver for everyone, especially creative professionals, whose work involves an online content component, as it works not only with files on your desktop, but also with images and text on websites.
Final Words on How to Save Images on a Mac
How to copy and paste a picture on a Mac from the internet? You now know all the most effective techniques for completing that task, and it is simple.
Saving images on your Mac is just one of the basics that makes the entire experience enjoyable. However, downloading duplicate copies of the photos you already have on your hard drive is just as simple as saving the originals.
Hopefully, after reading this article, you’re feeling better about using your Mac and saving pictures on it. You feel at ease searching for the duplicate files you’ve been meaning to remove as well.
Read More:
- Can You Play Ghost Of Tsushima On Mac?
- Why is My App Store Blank on My Mac?
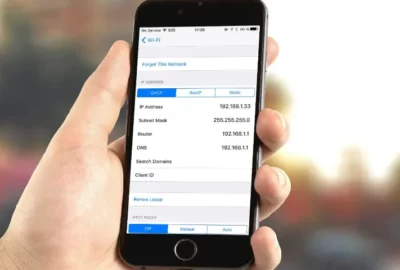
- How to Forget a Wifi Network on Mac?
FAQs
Where Do I Save Photos on My Mac?
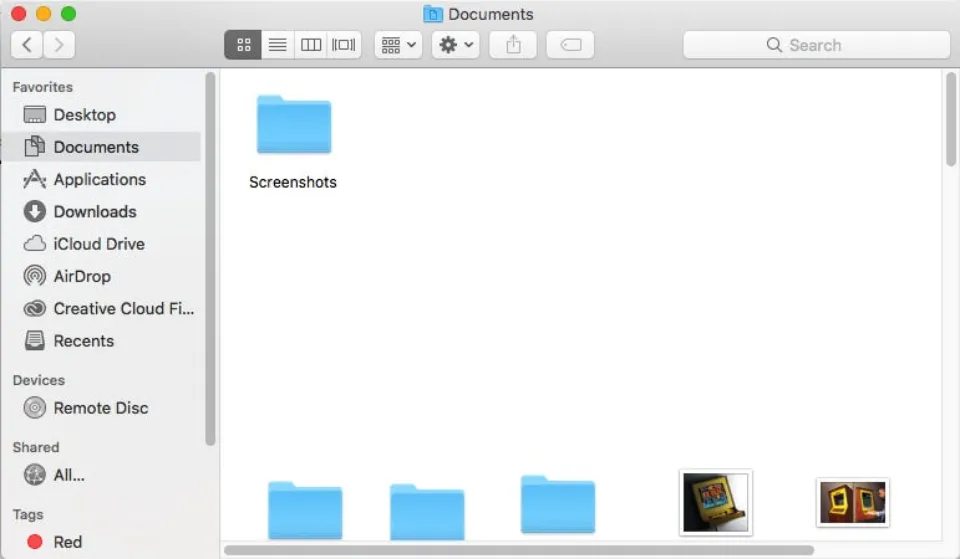
By default, the System Photo Library is located in the Pictures folder on your Mac.
How Do I Save An Image as a JPEG on a Mac?
In the Preview app on your Mac, open the file, then choose File > Export.Click the Format pop-up menu, then choose a file type.
Is JPG the Same as JPEG on Mac?
There are actually no differences between the JPG and JPEG formats. The quantity of characters used is the only variation.