7 Ways to Fix iPhone 13 Won’t Turn On: Guide 2023

Your iPhone 13 won’t turn on when you try to use it. Today, I’ll show you how to fix an iPhone 13 won’t turn on!
Even though the natural response would be to charge the device as the battery may have been depleted, the majority of the time we jump to the conclusion that there is a hardware problem.
We need to know the cause of your device’s inability to respond or turn on, so please let us know. Even though we always have the option to visit a shop and pay the technician what he is asking, there are times when it is better to solve the issue on our own rather than spend any money on a device that is already in perfect working order.
Therefore, if you are one of the new iPhone 13 owners who is bothered by this issue, keep reading as we might be able to assist you.
Why Won’t An iPhone 13 Turn On?
An empty battery, system crashes, corrupted applications, firmware errors, and worst of all, hardware damage are frequently to blame for power problems, including won’t turn.
- No Power. An iPhone’s low battery life is a clear cause of its inability to turn on. Any device that shuts down due to a complete power drain may take a long time to power back on once it has been fully recharged. This, therefore, indicates slightly more pressing of the power switch or button.
- An unreliable update and rogue applications are frequent causes of a complete battery discharge.
- Faulty applications. Post-update battery drains are frequently linked to a few third-party apps that act strangely after the new firmware is installed. This time, the issue will probably be resolved by updating or reinstalling the problematic apps. Navigating to your iPhone’s battery usage menu will help you find out which of your apps is causing a rapid battery drain. You should be able to see which app uses the most power there.
- System crash. Rogue apps can also make the iPhone stop working and become stuck on the black screen, in addition to draining the battery. Such issues are frequently related to improper app installation. When a flawed update is installed, the same thing happens.
- Hardware damage. Hardware damage is the worst possible reason for power problems in mobile devices. This occurs when the device has liquid damage or physical damage. Unfortunately, to get your device back up and running in this situation, assistance from a technician would be required.
Related Post:
How to Fix An iPhone 13 That Won’t Turn On
Here are some ways you can try to fix iPhone 13 won’t turn on.
Hard Reset Your iPhone
A software issue is typically temporary fixed by performing a hard reset. It merely forces your iPhone to restart, which has the unfortunate side effect that the issue frequently recurs.
To Hard Reset My iPhone, What Do I Do?
- Press and hold the power button and the volume down button together until the screen goes blank and the A screen flashes with the Apple logo.
- Release both buttons when the Apple logo reappears.
- The hard reset is finished when your iPhone powers back on.
Hard Reset On iPhone X or Newer
The hard reset process for an iPhone X differs slightly from that for other iPhone models.
- Quickly press the volume up button.
- Quickly press the volume down button.
- Press and hold down the Side button.
- As soon as the Apple logo appears in the middle of the screen, release the Side button.
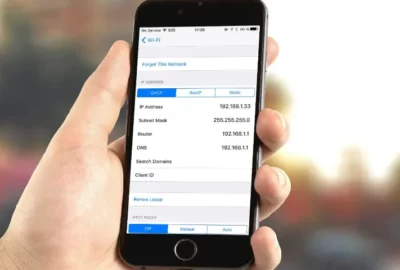
Inspect Your iPhone Charger
Your iPhone can be charged in a variety of ways, including by plugging it into a laptop, wall outlet, car charger, and more. If your iPhone’s software notices fluctuations in the power source, charging will not proceed as a safety precaution.
How Can I Check My iPhone Charger?
- Charge your iPhone with multiple different power sources. Try charging your device from a USB port on your laptop if you typically use a wall charger, and vice versa.
- If one power source allows your iPhone to charge but not the other, the charger is to blame.
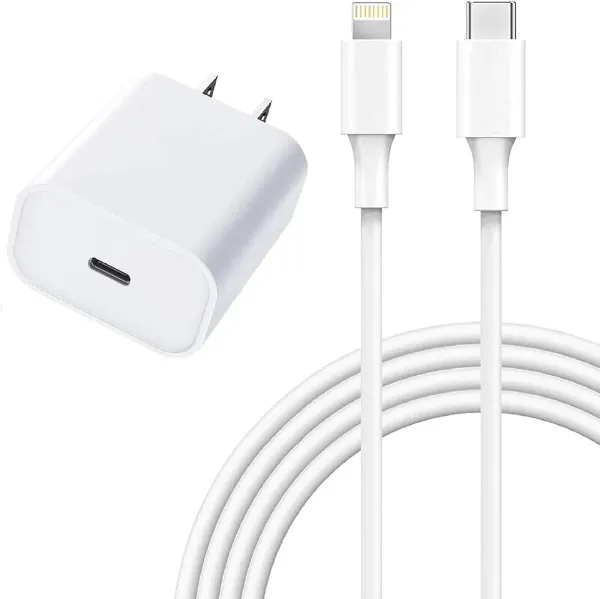
Inspect Your iPhone Cable (Lightning Cable)
Especially when it comes to charging and data transfer between iPhones and computers, damaged Lightning cables are a frequent cause of iPhone issues.
The fact that lightning cables typically don’t break all at once when they start to fail makes them difficult to diagnose. Because of the design of the cable, an iPhone occasionally keeps charging but can’t sync data properly, or vice versa. When you’re troubleshooting, be sure to look closely!
How Do I Check My iPhone Lightning Cable?
- Examine your Lightning cable’s two ends with a flashlight. In particular, the end with the Lightning connector on these cables is prone to wear and fraying.
- If you see no visible signs of damage, try charging your device using both a USB port on a computer and the wall adapter which came with your iPhone. The issue is not with your Lightning cable if it functions with one device but not the other.
- Use a friend’s or relative’s Lightning cable to charge your device. You’ve determined that your Lightning cable is the issue if their cable functions while yours does not.
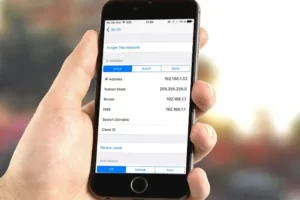
Inspect Your iPhone’s Charging Port (Lightning Port)
You should frequently inspect your Lightning port, also known as the charging port, to make sure it is clean. Lint, grime, and other obstructions can prevent your Lightning port from securely connecting to your Lightning cable. A clogged Lightning port could also “trick” newer iPhones (without headphone jacks) intro thinking headphones are connected. This might cause your iPhone to become locked in headphones mode.
How Do I Check the Lightning Port on My iPhone for Damage?
- Check your iPhone’s Lightning port with a flashlight to see if there is any lint, gunk, or other debris there.
- Use a fresh toothbrush or anti-static brush to gently remove any debris that you find in the Lightning port of your iPhone.
Back Up Your iPhone
Before performing any significant restores (like a DFU restore), you should back up your iPhone. Having a backup ensures that you won’t lose any of your data (including contacts, photos, apps, and more) if something goes wrong while you’re trying to fix your iPhone. It is much more convenient to restore from a backup than to manually enter every piece of data that was previously saved on your iPhone.
How Do I Create an iPhone Backup?
There are a few different ways to back up your iPhone:
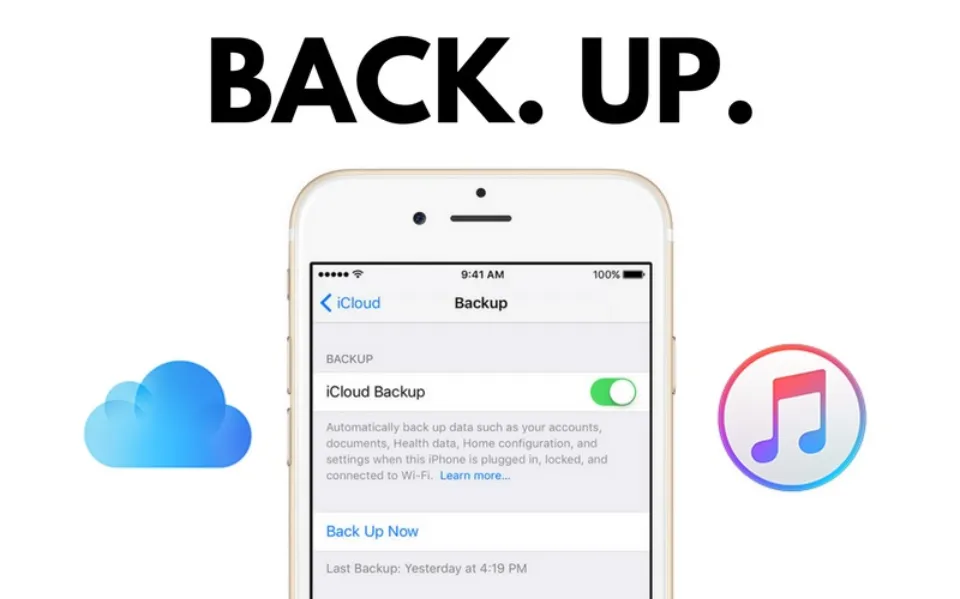
Backup Your iPhone Using iCloud
- You can use iCloud to back up your iPhone if you have a WiFi connection.
- Open the Settings app.
- Tap on Your Name at the top of the screen.
- Tap iCloud.
- Scroll down and tap on iCloud Backup.
- Make sure the switch next to iCloud Backup is on. You’ll know the switch is on when the switch is green.
- Tap Back Up Now.
- You’ll see a status bar that indicates how much time is left.
Backup Your iPhone Using iTunes
- Your charging cable’s Lightning connector should be inserted into the iPhone’s Lightning port.
- The other end of your Lightning cable should be inserted into a computer’s USB port.
- Open iTunes on your computer.
- In iTunes, select the iPhone icon in the upper-left corner.
- Click the circle next to “iCloud” or “This computer” to select whether you want to backup your iPhone to iCloud or your computer.
- Click Back Up Now to backup your iPhone.
- When the backup is complete, you’ll see the time and date updated under Latest Backup.
Backup Your iPhone Using Finder (Macs Running Catalina 10.15 Or Newer)
- Utilize a charging cable to link your iPhone to your Mac.
- Open Finder.
- Click on your iPhone under Locations.
- Click the circle next to Back up all of the data on your iPhone to this Mac.
- Click Back Up Now.
- When the backup is complete, you’ll see the time and date updated under Latest Backup.
Put Your iPhone in DFU Mode
The final step in debunking your iPhone is a DFU restore, which will obviate any software issues.
Watch our step-by-step DFU restore guide on YouTube, or follow the steps below:
- An iPhone can be connected to a computer.
- Open iTunes (on PCs or Macs running macOS Mojave 10.14 or earlier) or Finder (Macs with macOS Catalina 10.15 or a later version).
- Volume up button pressed and released.
- the volume down button, then release it.
- Up until the iPhone’s screen goes black, press and hold the side button.
- Hold the side button while pressing and holding the volume down button once the screen goes black.
- Holding both buttons down for five seconds.
- Release the side button after five seconds, but keep holding the volume down button.
- When your iPhone appears in Finder or iTunes, release the volume down button.
- The DFU mode of your iPhone is visible in iTunes or Finder.
- Click Restore and follow the on-screen prompts to iPhone DFU restoration
Repair Your iPhone With Apple
Both online and through their mail-in repair service, Apple fixes iPhones at the Genius Bar in Apple Stores. Apple repairs are of a high standard, but after-warranty repairs may be significantly more expensive than alternatives from third parties. You might want to look over our other suggestions if you’re trying to save money and your situation isn’t covered by Apple’s warranty.
How to Repair Your iPhone With Apple’s Mail-In Service
- To start the online mail-in repair process, go to Apple’s support website.
- If you’d prefer, you can schedule a repair by calling 1-800-MY-APPLE (1-800-692-7753).
How to Repair Your iPhone at the Genius Bar Inside Your Local Apple Store
- Make a Genius Bar appointment on Apple’s website before you enter the store. Because Apple Stores are so popular, you might have to wait for hours without an appointment or even be turned away. (Editor’s note: I used to be an Apple technician, so we’re not making this up; do yourself a favor and schedule an appointment first!)
- Go to the Genius Bar when you get there to make an appointment.
- Diagnostics are always provided for free during Genius Bar appointments. Many repairs can be made immediately if you have a warranty, but it all depends on the parts that are available. The Genius will give you an estimate for the cost of a repair if your product is not covered by warranty.
The Bottom Line: iPhone 13 Won’t Turn On
We hope you’ve now discovered the answer you required to turn your iPhone 13 back on!
These tools should be simple to use because they typically have a user-friendly interface. You can easily fix your iPhone’s startup issues by using the built-in commands and controls.
Share this article with your family and friends as soon as you can after turning on your iPhone 13! Which advice proved effective for you? Please tell us in the comments!
Read More:
- How to Pause Location on Find My iPhone?
- How to Get Rid of Hollow Arrow on iPhone?
- How to Invert a Picture on iPhone?
FAQs
How Do I Force Start My iPhone 13?
Force restart iPhone
- The volume up button should be pressed and quickly released.
- Press the volume down button, then quickly let go.
- Press and hold the side button.
- Release the side button when you see the Apple logo.
Why Did My iPhone 13 Turn Off and Won’t Turn Back On?
Possibly, the battery may have died. So perhaps the issue is a lack of power.
Why is My iPhone 13 Stuck on a Black Screen?
The black screen may appear if there is any minor software crashes in the iPhone. You can attempt a forced restart procedure to get around it. This immediately fixes the problem.